The USB socket is one of the electrical interfaces with high frequency of daily use. It is often used for power supply, unless USB HUB is used as an interface for expansion during data transmission. HUB is a hub that people often say, such as computers and notebooks. If the USB interface is not enough, the USB HUB will be selected for expansion. Then, if you need to use multiple USB devices on a daily basis, you only need to supply power, but if the interface is not enough, you can make a simple USB power take-off splitter, then you can output multiple power supplies on one interface. Of course, you have to The normal use of each device can be guaranteed only when the power supply USB power is sufficient.
So how do you make a USB power take-off splitter yourself?
P01 USB take-up splitter
First, preparation for production
1, renderings
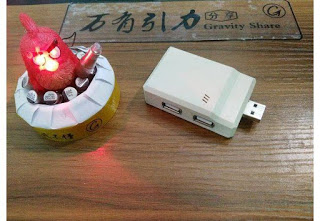
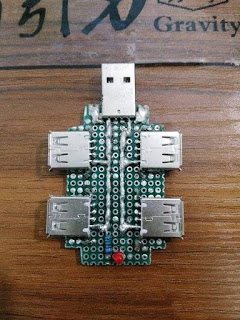
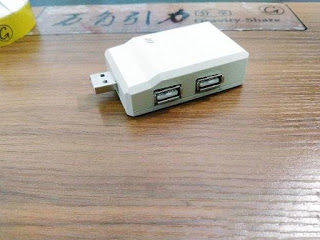
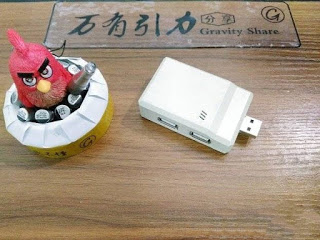
Let's take a look at the finished product of the USB power take-off splitter. The effect of 1 minute 4 is mainly composed of 1 USB bus and 4 USB sockets. The USB bus is used as the input of the power supply, and the four USB sockets are connected in parallel as the output to realize the function of 1 minute and 4:
P02 finished product renderings
2, material preparation
1, USB public seat 1
2, 4 USB female seats
3, a plastic case 1
4, LED, resistor, 1 each
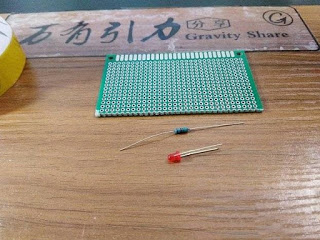
5, universal board (hole board)
6, wire tools, etc.
P03 material preparation
Second, the design principle
1, the principle
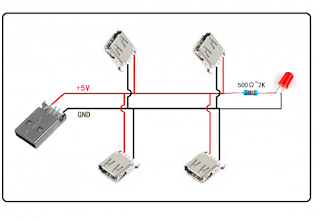
The circuit principle of this work is very simple, mainly using the parallel output of the USB female. The red LED acts as a power indicator.
P04 principle icon
The four USB port pins are defined as VCC, -D, +D, and GND.
P05 USB pin definition
Third, DIY process sharing
Prepare 4 USB sockets, solder the wires according to the definition of their pins. The main pins are VCC and GND, and the other two data lines are floating:
P06 USB female
The board is soldered directly using a universal board:
P07 universal board
The red LED acts as a power indicator and requires a current limiting resistor:
P08 LED
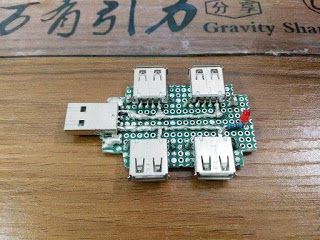
The four SUB sockets, one USB bus, are soldered according to the principle, and the LEDs are soldered at the same time:
P09 component soldering
The effect of welding is completed:
P10 welding completed
The back of the universal board is connected:
P11 back
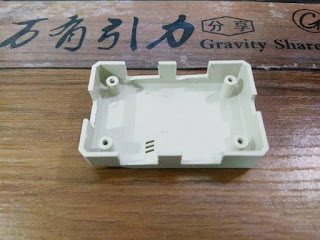
The box is cut and polished according to the corresponding position of the USB holder of the board:
P12 plastic box slotted
Positive effect:
P13 front
Close the bottom cover effect:
P14 cover
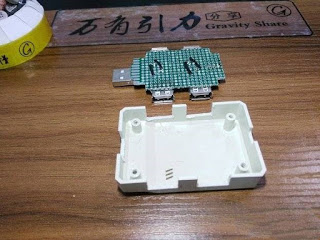
Comparison of the position of the board and the box:
P15 comparison
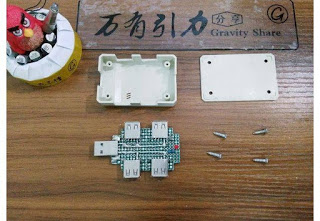
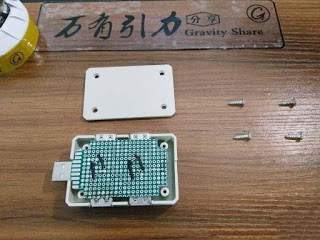
Cover and screw preparation:
P16 preparation screw
Install the board to the box:
P17 installation
P18 continues to install
Lock the screw:
P19 is installed
At this point, the power-on test passes and the DIY installation is completed.
Fourth, the finished product appreciation
P20 side
P21 front
P22 bottom
P23 is powered on
P24 indicator lights up
P25 side
P26 side
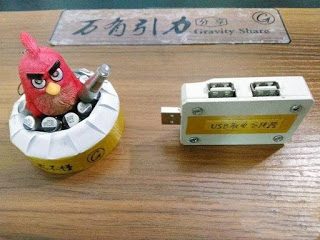
put on label:
P27 tag
P28 photo
Fifth, write at the end
This DIY principle is very simple, and the final effect is also ideal. It is very convenient for the occasion of multi-USB power supply.
Follow Me
linkedin:https://www.linkedin.com/in/nicole-song-64400b147/

 Inglés
  Chino
Chino  Alemán
  Coreano
  Japonés
  Farsi
Farsi  Portuguese
  Russian
  Español
