 |
 |
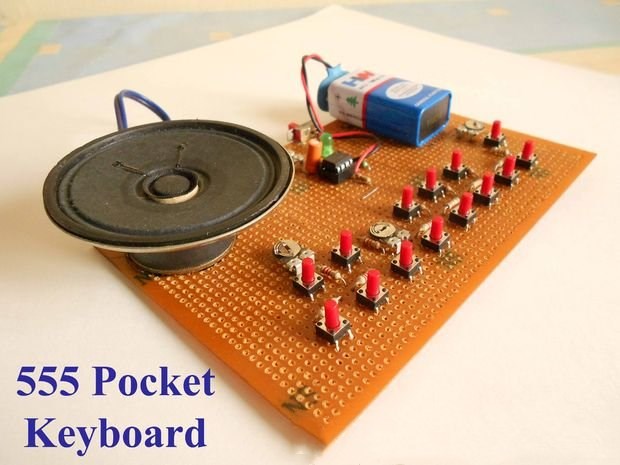
This is a small keyboard made with 555 timer, which can make a good sound, you can play a music you like.
Before you start, make sure you can understand the circuit and solder it.
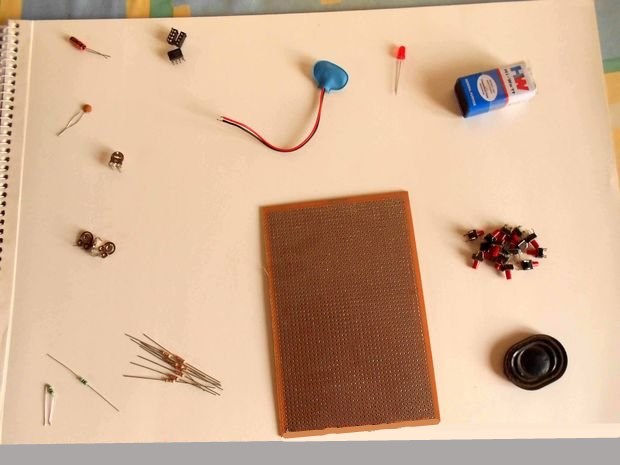
The first step: the required electronics
555 timer
100K (or larger) potentiometer
4K7 (or smaller) potentiometer
10K potentiometer
2.2K resistors (12)
4.7K resistor
8Ω speaker
Two-way slide switch
One LED + one 470E resistor
14 micro switches
100nF capacitor
10uF capacitor
9V battery with line
Hole plate (10X15cm)
Almost so much.
 |
Step 2: Test on the breadboard
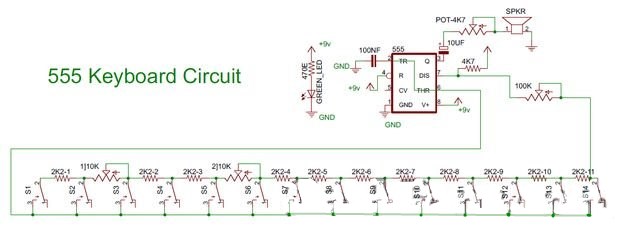
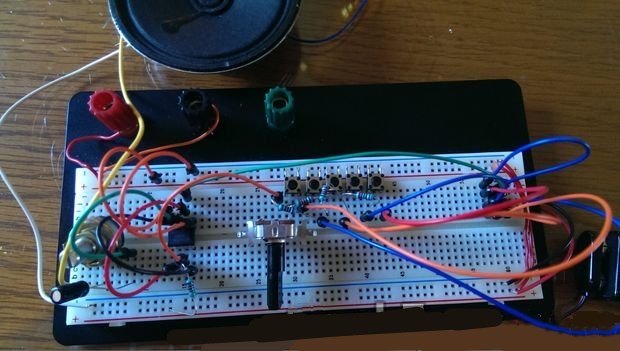
According to the circuit diagram, the components on the breadboard are connected, and then test whether it is normal.
You don't need to install all 14 buttons, you can install 4 or 5, mainly for testing.
 |
 |
step3: welding to the hole plate
If there is no problem with the previous test, you can solder it.
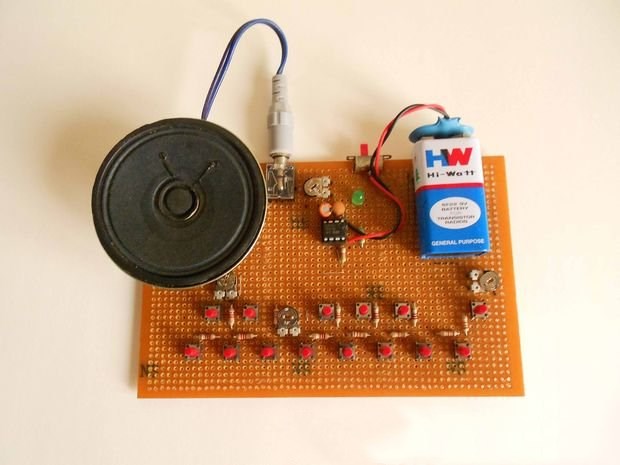
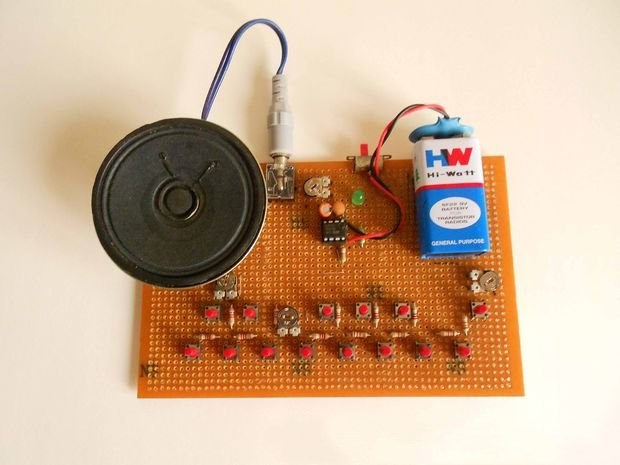
A large hole plate was used here to put the battery and speakers on. You can also choose a smaller one.
The layout of the components here is for reference only. You can also make a more reasonable layout according to your own situation or the convenience of the buttons, but you must follow the circuit diagram.
 |
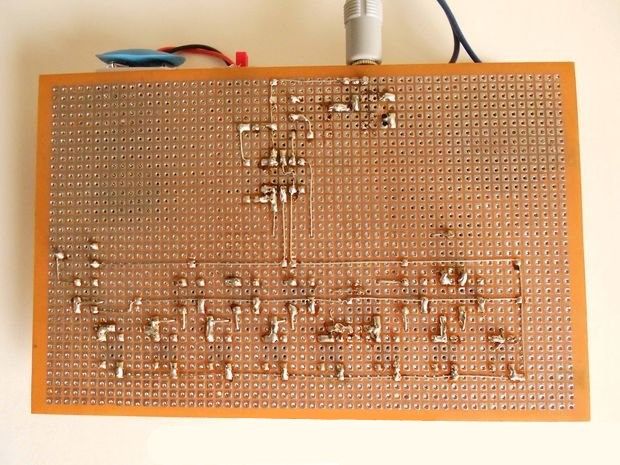
You can weld in the following order:
Fixed button
2. Add resistance to the button
3. Fixed 555
4. Create a circuit around 555
5. Connect 555 to the button
6. Connect the speakers
7. Connect the battery wiring
8. Check the entire circuit again.
9. Switch on the battery for testing.
 |
Step 4: Tuning & Playing
After the circuit test is no problem, you can add a protective case to your keyboard.
Before playing, you may also need to tune it through a potentiometer.
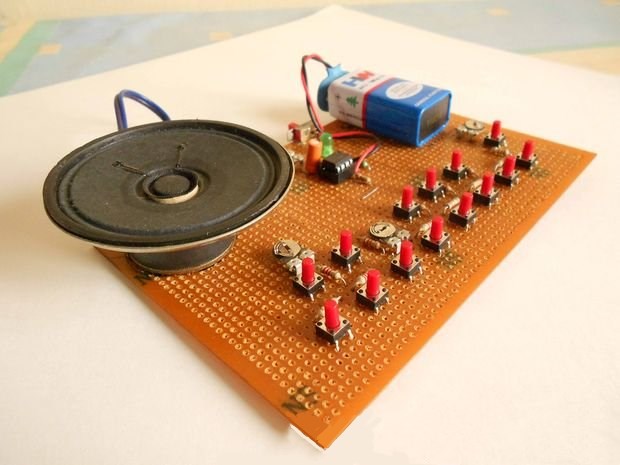
The 100k potentiometer is used to adjust the next 9 keys (next to the 9 treble keys of the 100k potentiometer), which must sound synchronous. After the 9 keys are adjusted, the 10th and 11th keys can be adjusted with a 10K potentiometer, and the second 10K potentiometer is used to adjust the 12th to 14th keys.
Now you can play a song with your own electronic keyboard!
 |
Video address:https://youtu.be/X66K3p_3yqE
Follow Me

 Inglés
  Chino
Chino  Alemán
  Coreano
  Japonés
  Farsi
Farsi  Portuguese
  Russian
  Español


